Filtern nach Thema:
37 Artikel gefunden
Artikel
Die Kanban Methode wird definiert als - ein alternativer Weg zur Agilität - eine Methode zur organisatorischen Anpassung und verbesserten Geschäftsagilität.
Andrea Giugliano
Artikel
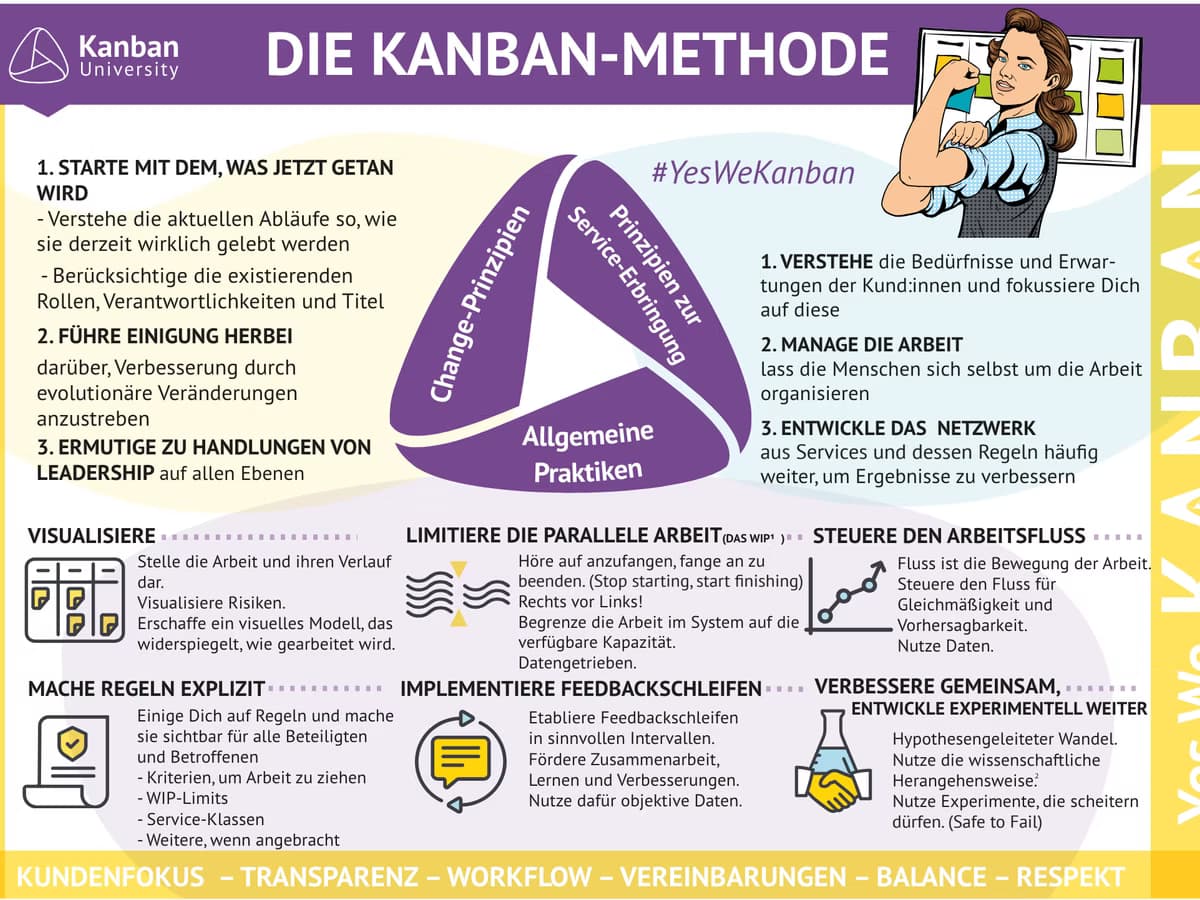
Kanban ist bekannt für seine Einfachheit und Effektivität bei der Verwaltung von Arbeitsabläufen in verschiedenen Branchen. Durch die Visualisierung der Arbeit, das Begrenzen der laufenden Arbeiten und die Verbesserung des Flusses hilft Kanban Teams, die Effizienz zu steigern und die Lieferung zu verbessern.
Andrea Giugliano
Artikel
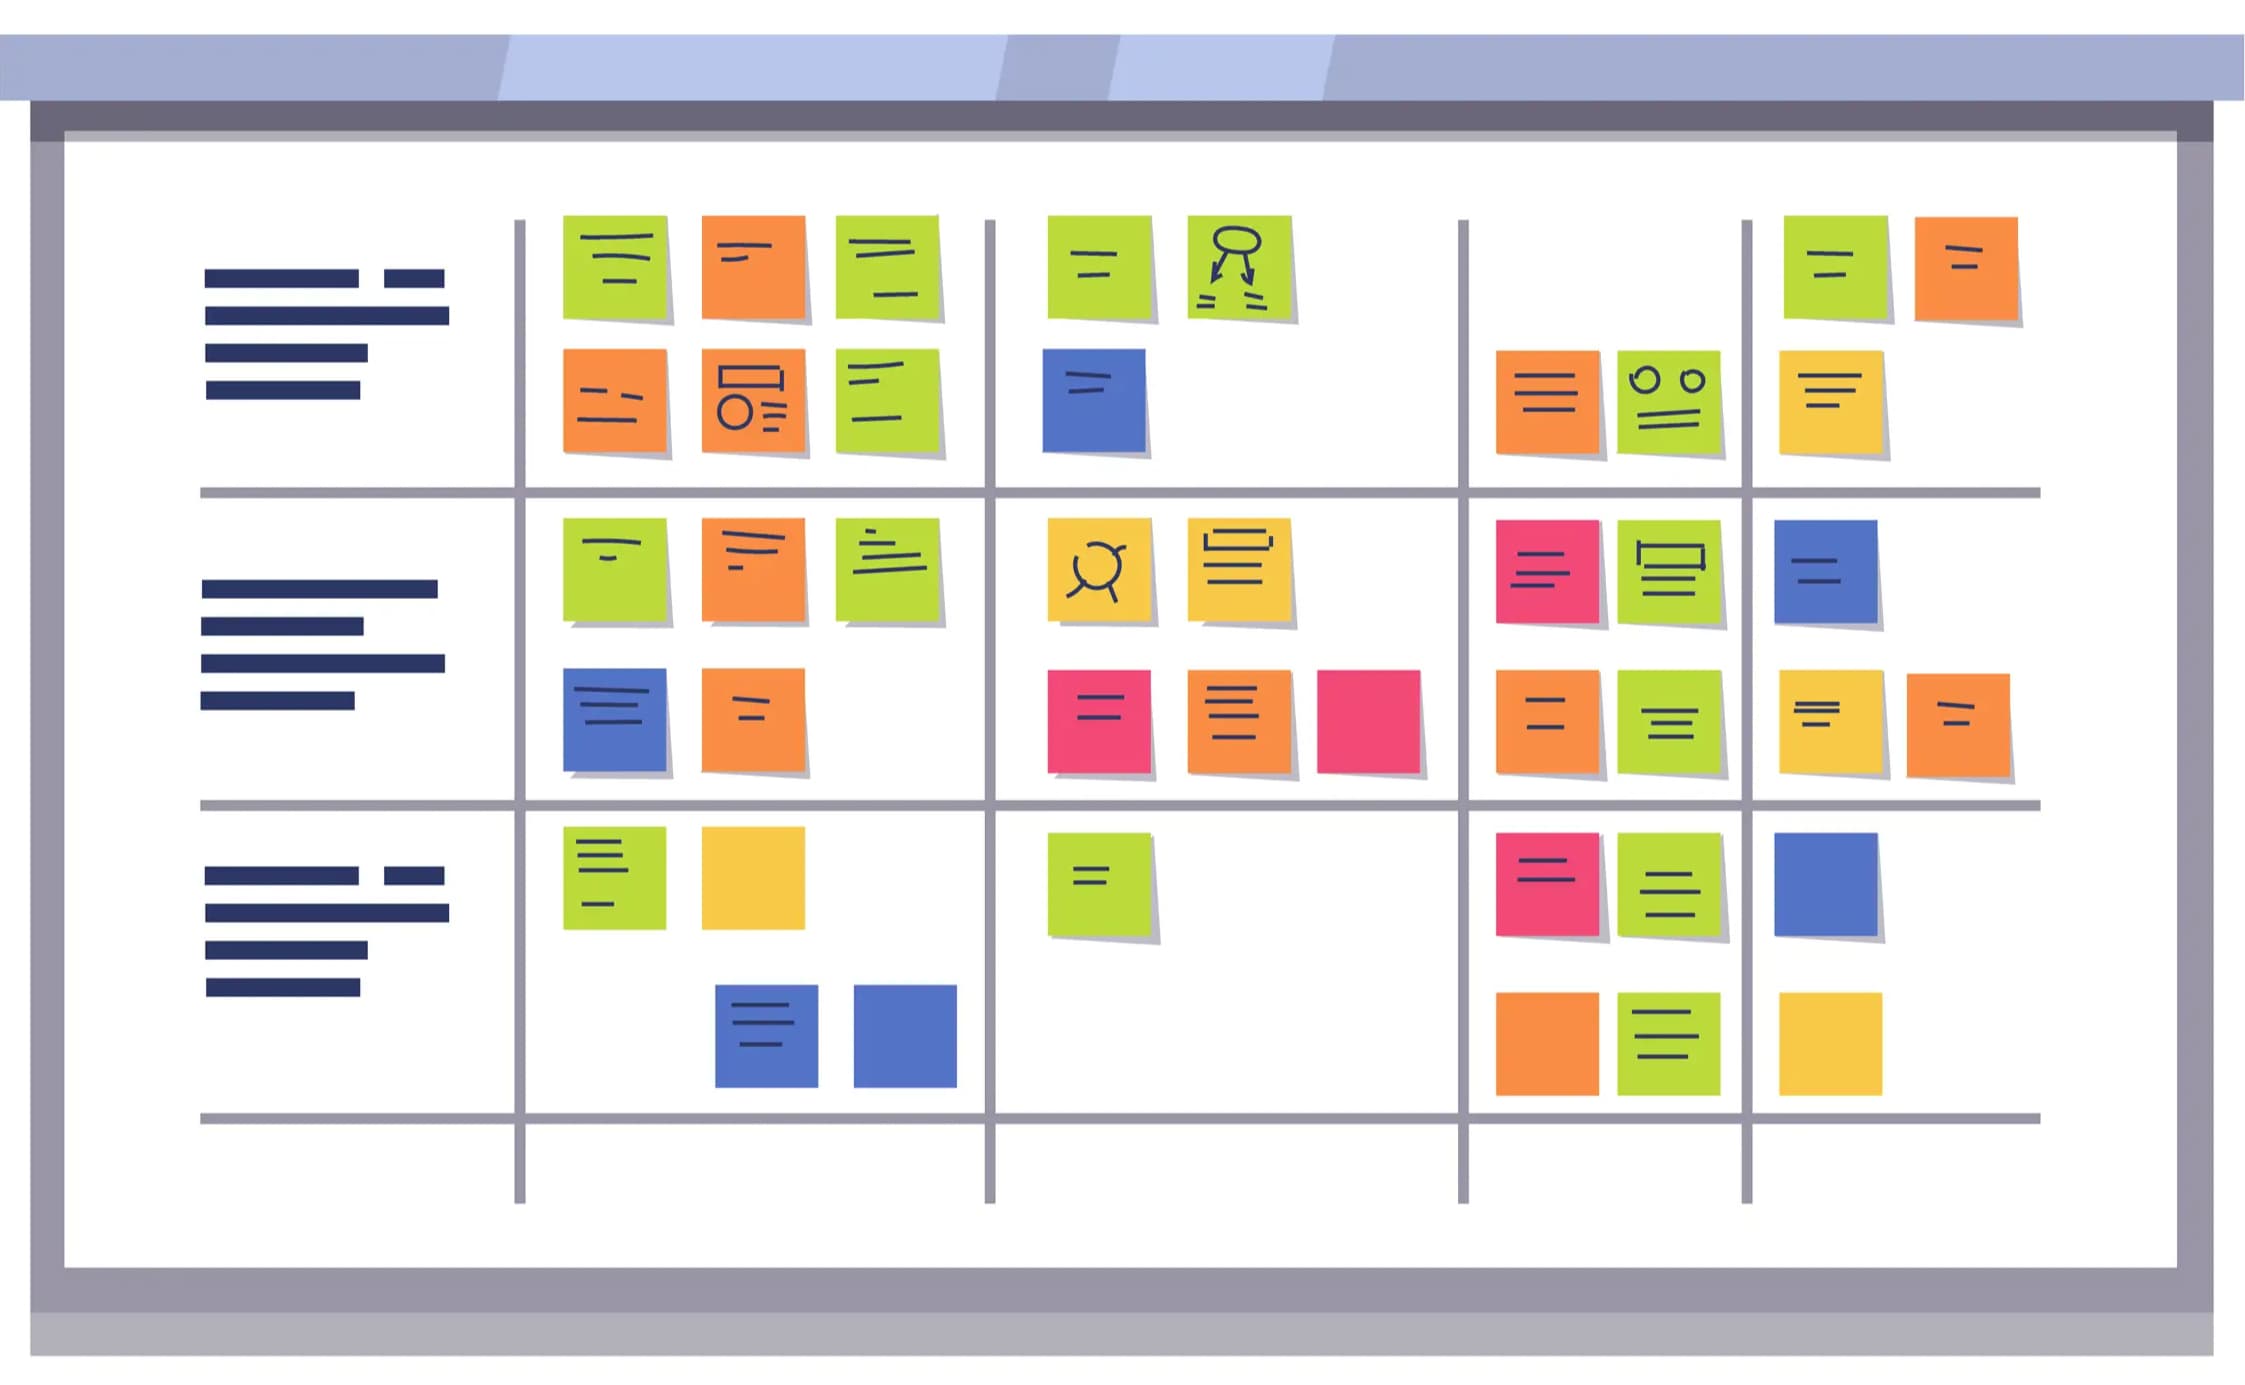
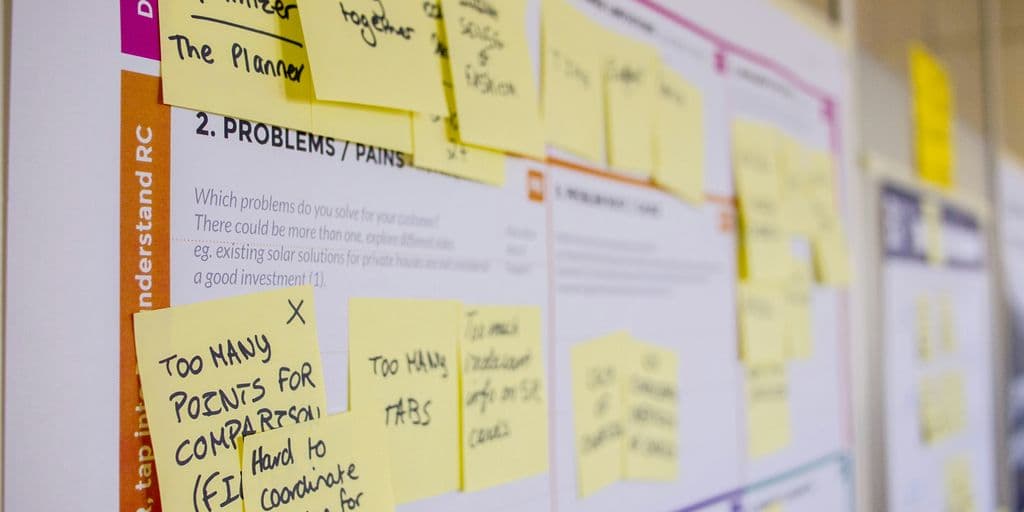
Kanban-Boards sind visuelle Werkzeuge, die helfen, Workflows zu verwalten, die Transparenz zu verbessern und die Zusammenarbeit im Team zu fördern!
Andrea Giugliano
Artikel
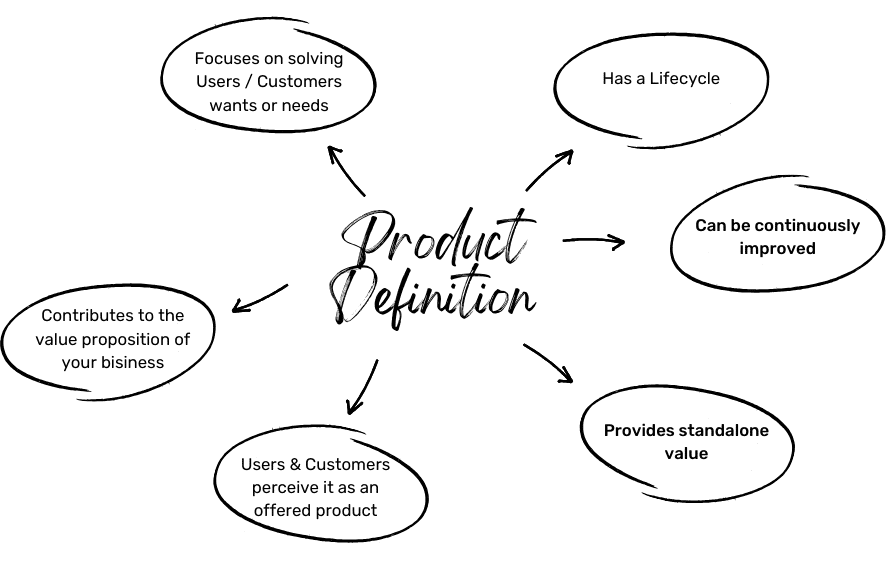
Wenn man sich anschaut, was in verschiedenen Organisationen passiert, sieht man, dass der Begriff „Produkt“ so leichtfertig verwendet wird, dass sein wahrer Kern verloren geht. Doch das Verständnis davon, wie deine Organisation ein Produkt definiert und auf welche Produkte sich dein Unternehmen konzentriert, ist die Grundlage für Erfolg und zufriedene Nutzer und Kunden.
Andrea Giugliano
Artikel
Product Discovery hilft dir zu vermeiden, Dinge zu bauen, die niemand will.
Corinna Böcklinger-Giugliano
Artikel
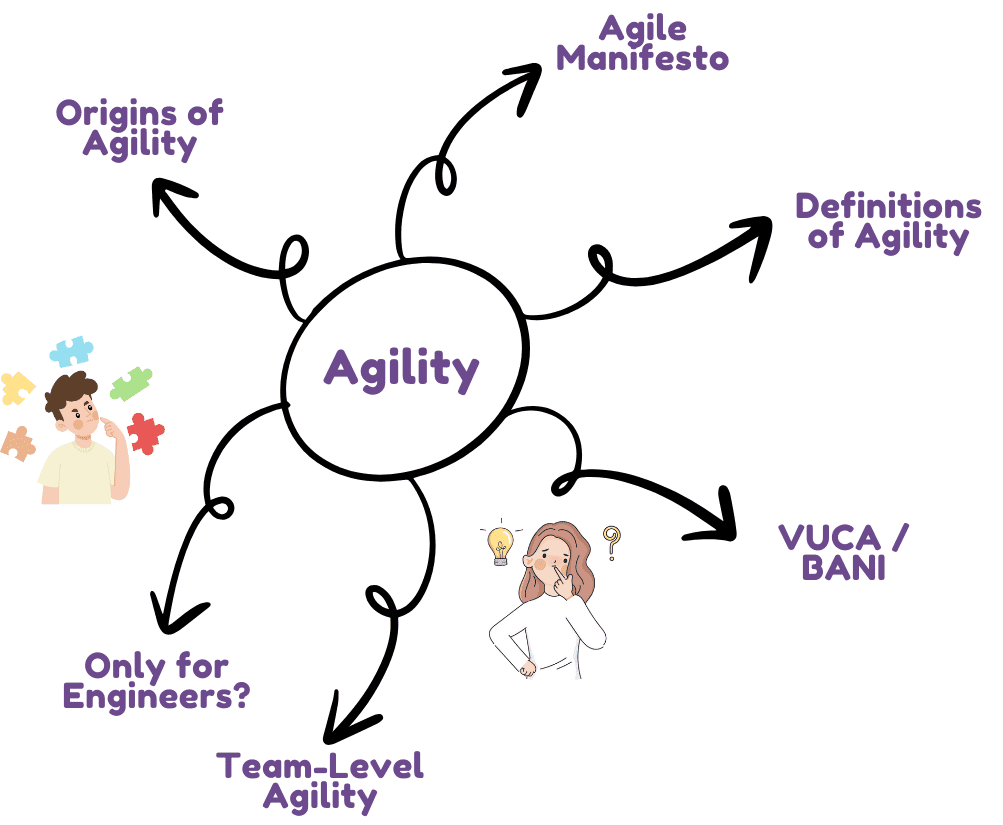
Agilität ist in unserer schnelllebigen Zeit absolut unverzichtbar geworden. Egal ob Softwareentwicklung, Projektmanagement, Produktmanagement oder Führungsebene – Agilität hat überall Einzug gehalten und sorgt für frischen Wind in Unternehmenskulturen.
Andrea Giugliano
Guide
Willkommen zurück zum ultimativen Anleitung zu Agile! In Teil 1 haben wir uns mit den Grundlagen von Agile, seinen Prinzipien und einigen beliebten Frameworks beschäftigt.
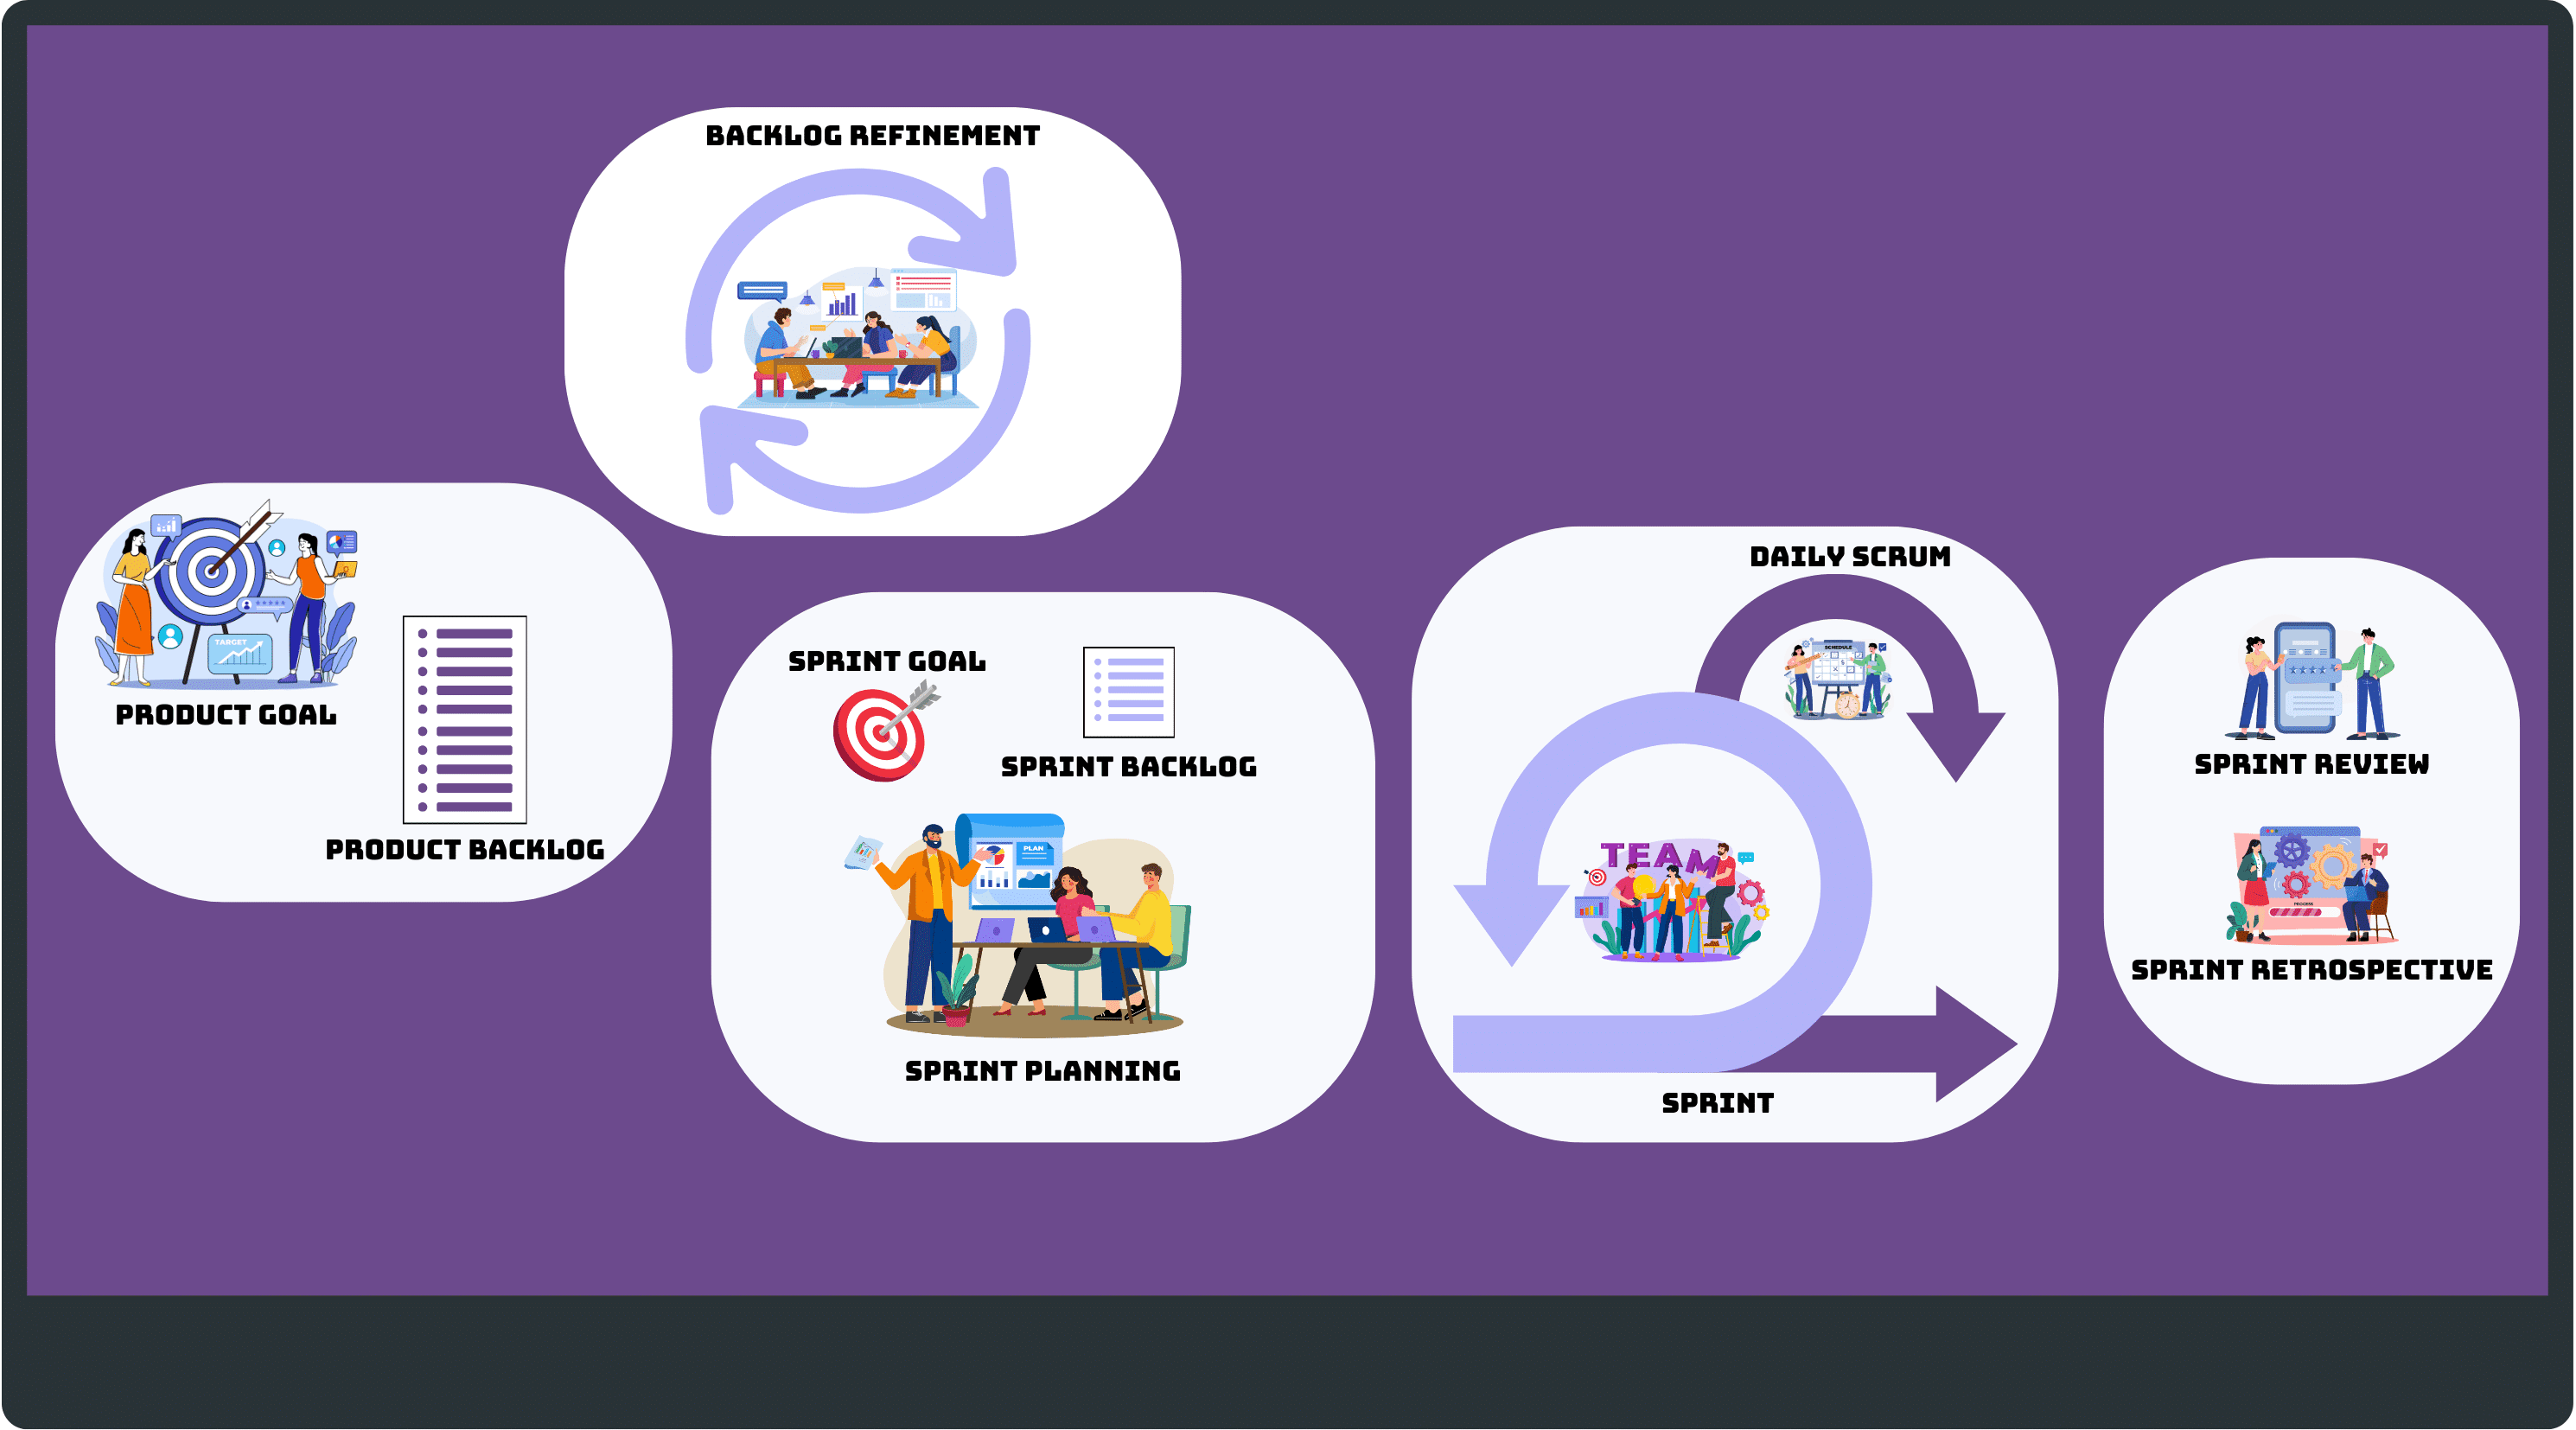
In Teil 2 gehen wir nun näher darauf ein, wie Agilität auf Teamebene funktioniert, werfen einen detaillierten Blick auf das Scrum Framework und erörtern gängige Ansätze und Fallstricke bei der Einführung von Agilität in Teams.
Andrea Giugliano

Guide
Haben Sie sich bei der Produktentwicklung schon einmal von der Vielzahl an Ideen und Aufgaben überwältigt gefühlt, die um Ihre Aufmerksamkeit konkurrieren? Damit sind Sie nicht allein. Die Priorisierung von Produkten ist eine wesentliche Fähigkeit für Produktmanager, und die Wahl der richtigen Methode kann den Unterschied zwischen Erfolg und Misserfolg ausmachen.
Corinna Böcklinger-Giugliano
Artikel
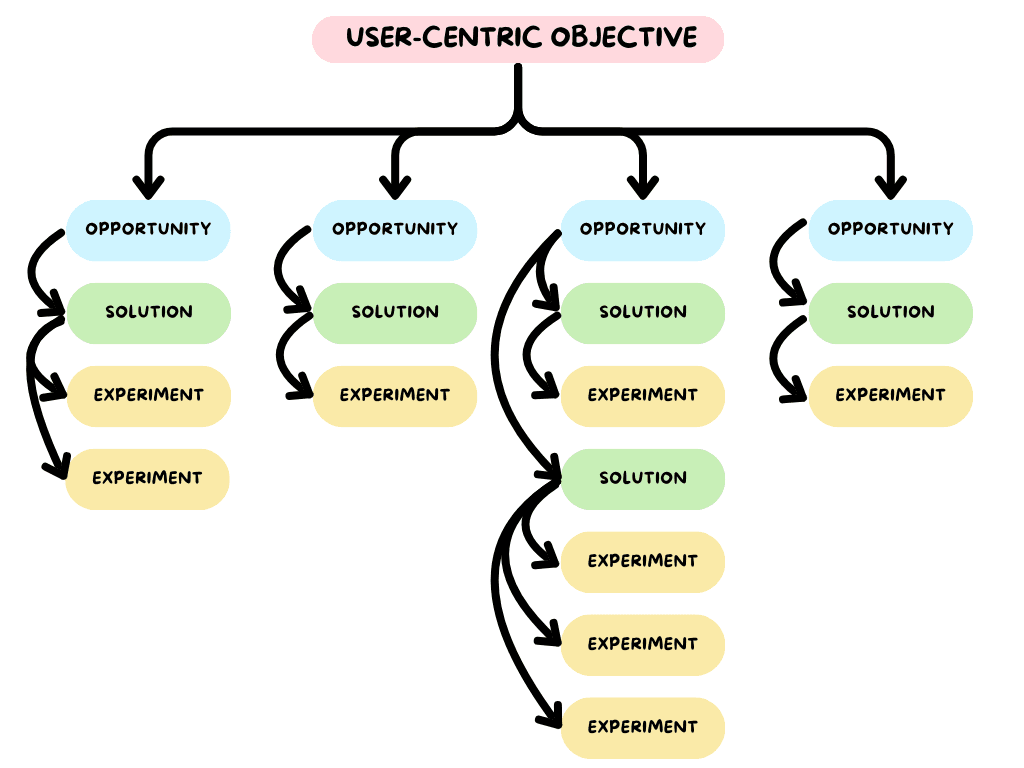
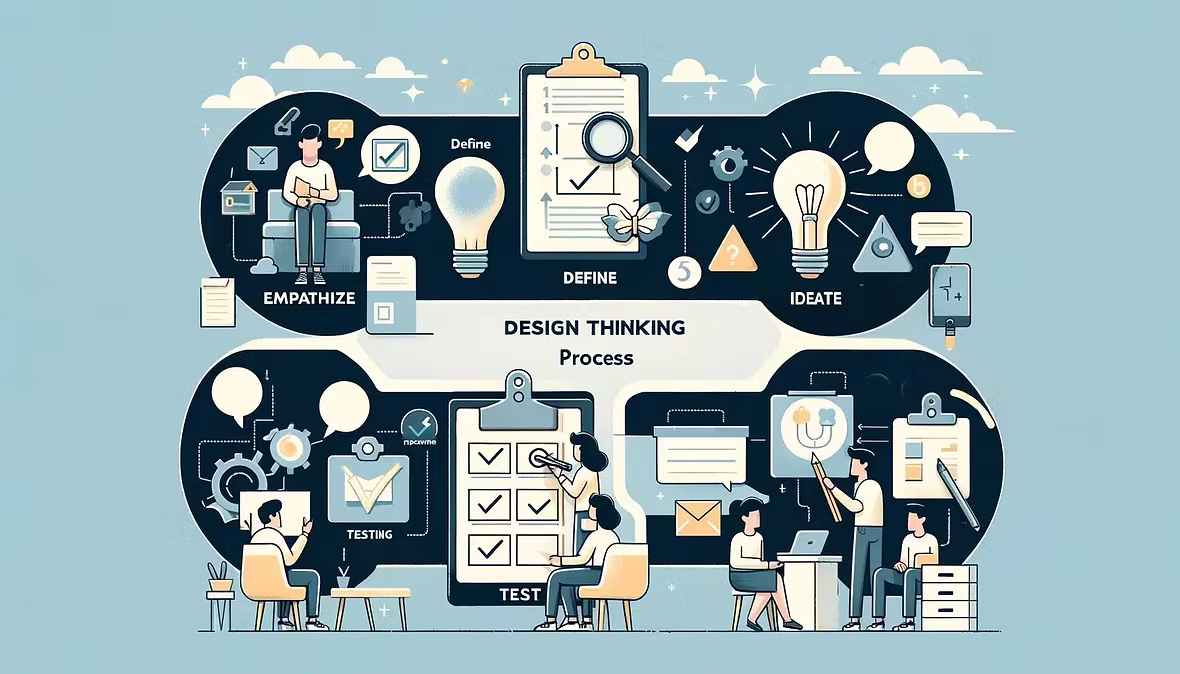
Beide Methoden – Design Thinking und Opportunity-Solution-Tree – haben ein gemeinsames Ziel: Produkte zu entwickeln und zu bauen, die Kunden wirklich lieben.
Corinna Böcklinger-Giugliano
Artikel
Ein Kanban System einzuführen kann Teams dabei helfen, ihre Arbeitsabläufe besser zu organisieren, die Produktivität zu steigern und Transparenz zu schaffen. Doch wie bei jeder Methode gibt es auch hier Pitfalls (oder auf Deutsch Fallstricke), die schnell den Mehrwert eines Kanban Systems gefährden können.
Andrea Giugliano
Artikel
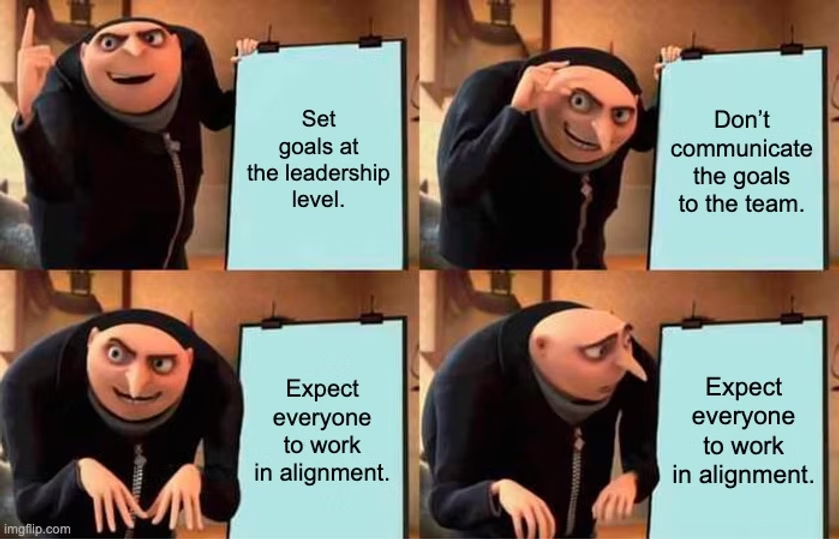
Stell dir Folgendes vor: Die Mitarbeiter:innen sind frustriert, unsicher, was ihre Prioritäten sind und fragen sich ständig: „Woran sollen wir arbeiten? Warum sollen wir an etwas arbeiten?“ Und die Führungskräfte fragen sich, warum ihre Ziele nicht erreicht werden. Kommt dir das bekannt vor? Diese Diskrepanz ist eine der häufigsten Herausforderungen für Unternehmen – und sie hat oft eine Ursache: mangelnde Transparenz.
Andrea Giugliano
Guide
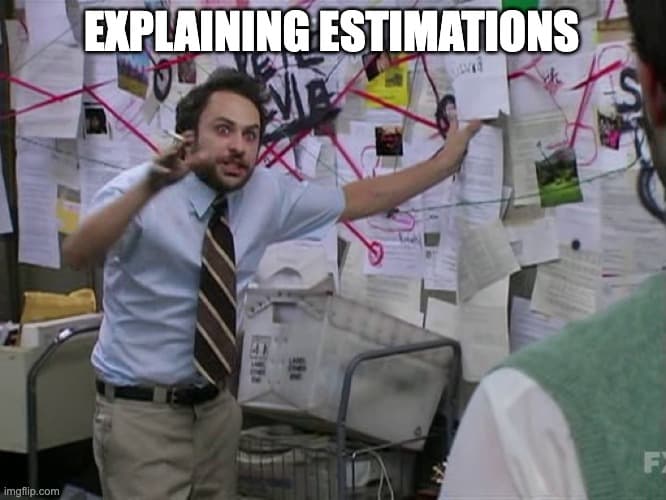
Reden wir über Schätzungen. Egal, um welches Projekt oder welche Aufgabe es sich handelt, immer wird jemand fragen: „Wie lange wird es dauern?“ Was wie eine einfache Frage erscheint, entwickelt sich oft zu einem Fass ohne Boden voller Debatten, Meinungsverschiedenheiten und Unzufriedenheit auf allen Seiten.
Andrea Giugliano
Guide
Arbeit kann manchmal chaotisch sein, oder? Aufgaben stapeln sich, E-Mails kommen schneller rein, als du sie lesen kannst, und deine To-do-Liste scheint von selbst zu wachsen.
Hier kommt die Kanban Methode ins Spiel. Sie ist ein einfacher Weg, um organisiert zu bleiben, deinen Arbeitsalltag zu meistern und wirklich das zu erledigen, was du anfängst.
Andrea Giugliano
Artikel
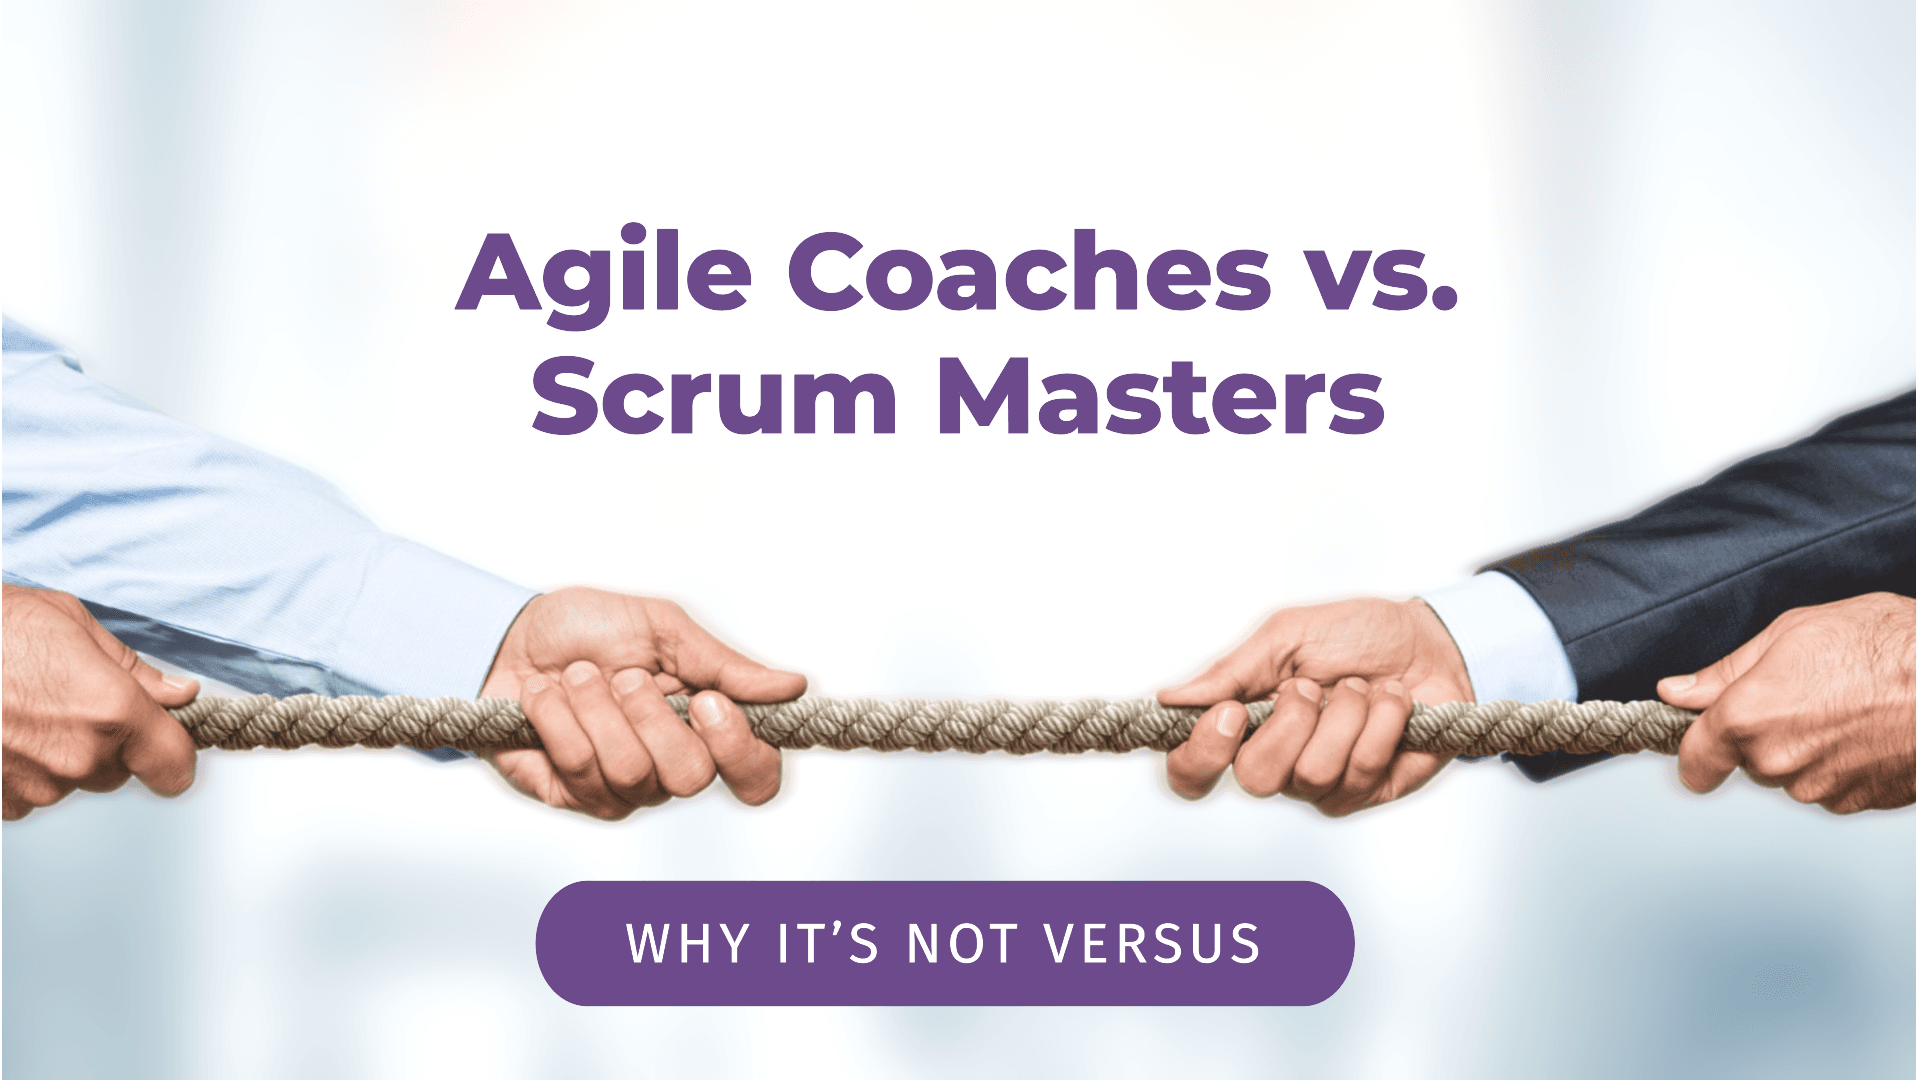
Warum Agile Coaches und Scrum Master wichtig sind:
Agile Coaches und Scrum Master sind meiner Meinung nach von entscheidender Bedeutung, wenn es darum geht, Organisationen bei der Bewältigung von Veränderungen zu unterstützen, ihre Arbeitsweise in Frage zu stellen und sie dabei zu unterstützen, sich kontinuierlich in Richtung Effektivität und besserer Arbeitsweisen zu verbessern.
Andrea Giugliano
Artikel
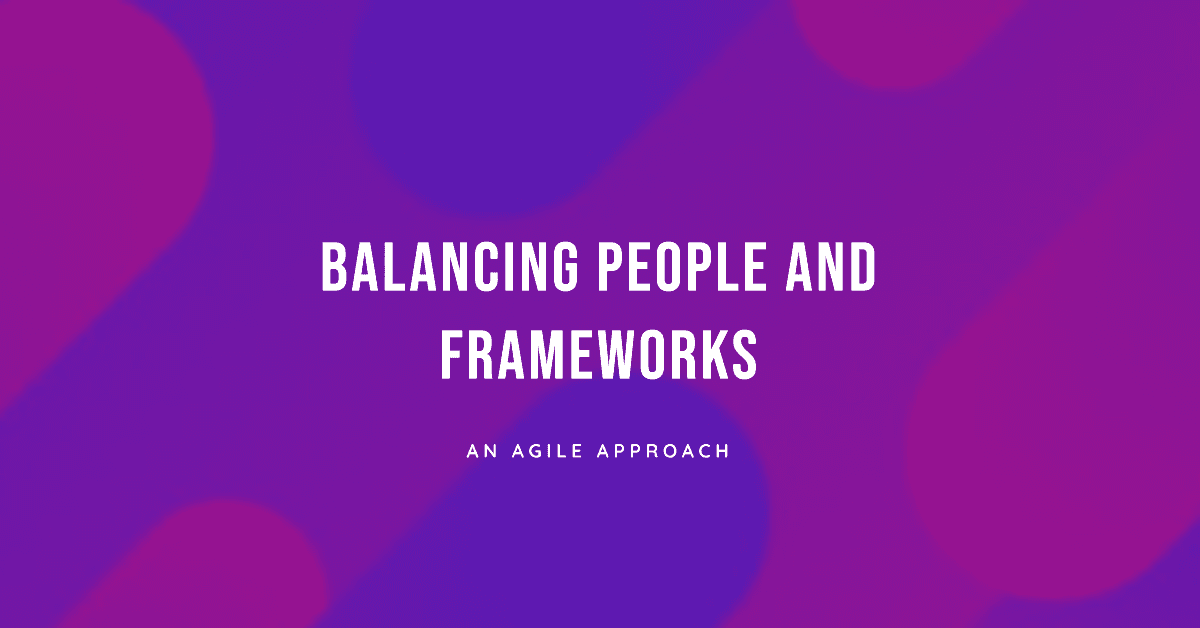
Organisationen stehen oft vor der Wahl: den Fokus auf Personen oder Frameworks legen. Kleiner Spoiler: Frameworks sind nur Werkzeuge. Sie sind keine magischen Lösungen, die alles ins Lot bringen. Falsch eingesetzt blockieren sie Kreativität, verlangsamen Entscheidungen und lenken die Mitarbeitenden vom Fortschritt auf die Prozesse ab.
Andrea Giugliano
Artikel
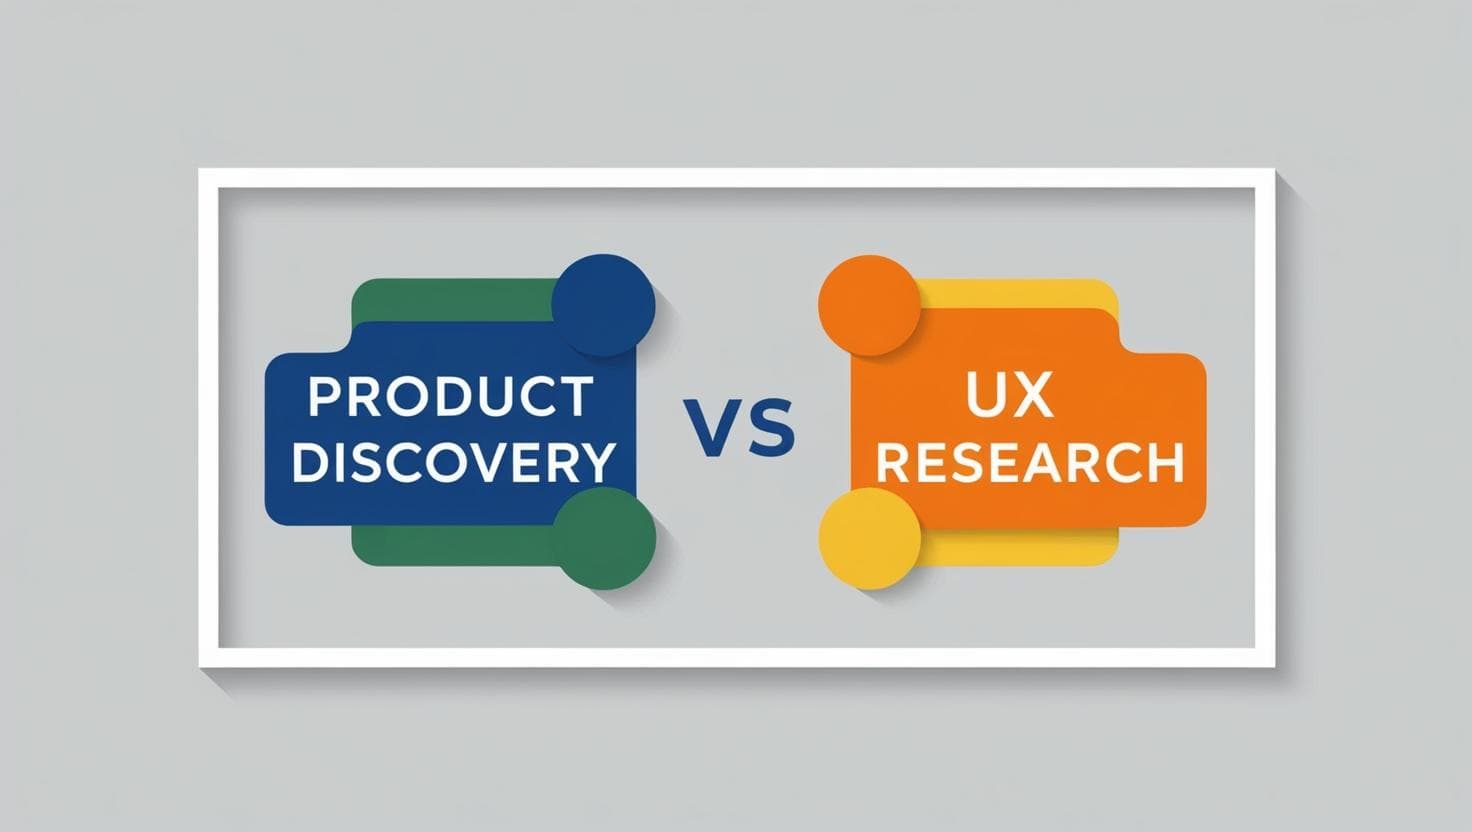
Product Discovery und UX Research werden oft verwechselt. Doch was ist der Unterschied? Erfahre, wie sich die beiden Ansätze ergänzen und wann du welche Methode einsetzen solltest.
Corinna Böcklinger-Giugliano
Guide
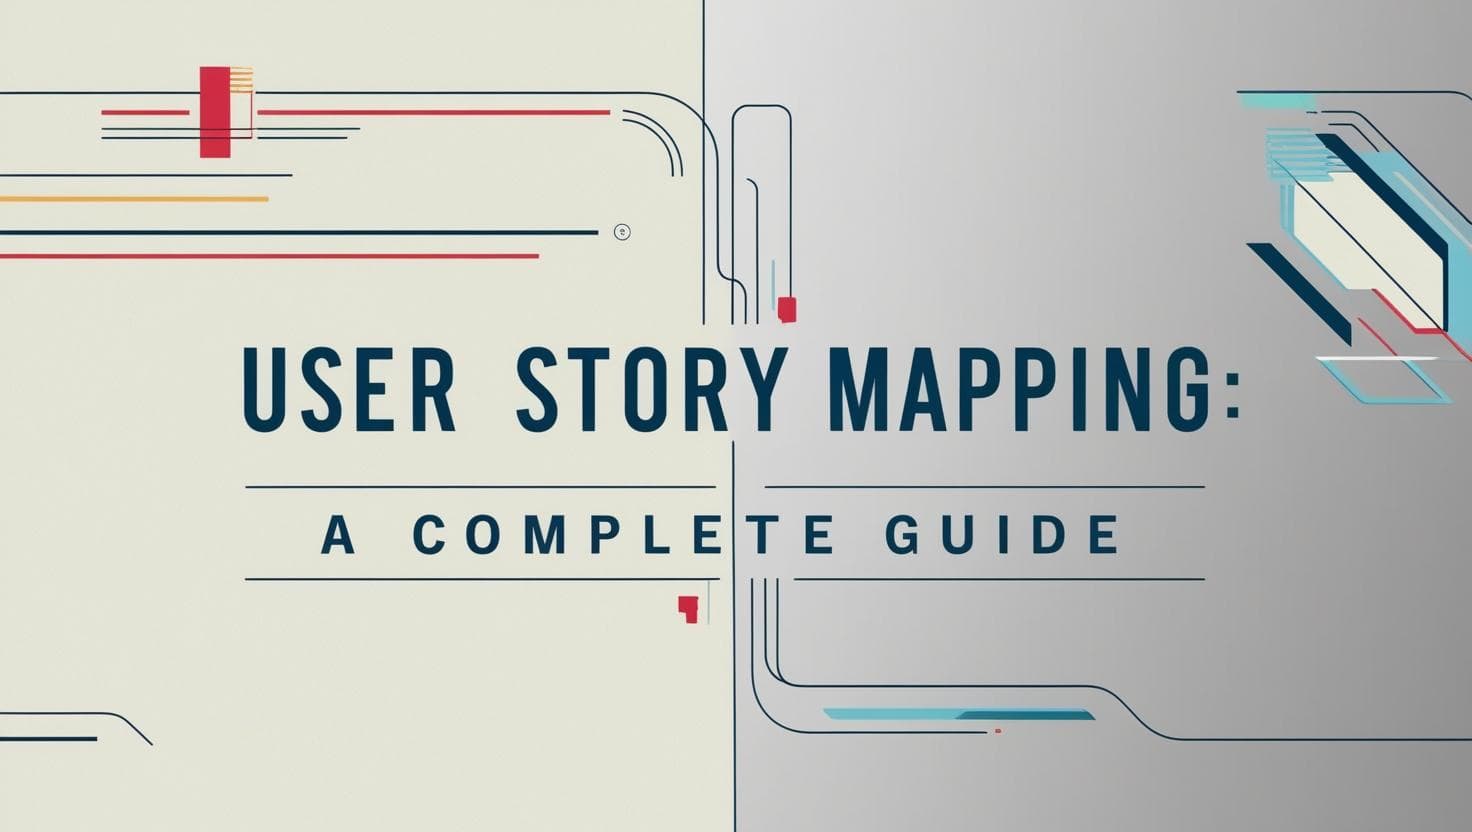
User Story Mapping ist eine großartige Methode, um dein Produkt zu verstehen, ohne in einer langweiligen To-do-Liste unterzugehen. Es hilft Teams zu erkennen, was wirklich wichtig ist – wie Nutzer mit dem Produkt interagieren und was zuerst entwickelt werden muss.
Andrea Giugliano
Artikel
Erfolgreiche Produktentwicklung beginnt mit einer fundierten Product Discovery. Erfahre, welche Methoden du nutzen kannst, um kundenorientierte und innovative Produkte zu entwickeln.
Corinna Böcklinger-Giugliano

Artikel
Wie lässt sich Product Discovery mit Kanban kombinieren? Erfahre, wie du agile Methoden nutzt, um iterativ Kundenbedürfnisse zu erforschen, Produktideen zu testen und bessere Entscheidungen zu treffen.
Corinna Böcklinger-Giugliano

Artikel
Seien wir ehrlich, Scrum kann sich manchmal wie ein gescheitertes soziales Experiment anfühlen. Deine Daily Stand-ups mutieren zu einstündigen Therapiesitzungen, Sprints gleichen einem Hamsterrad des Grauens, und dein Backlog ist länger als dein letzter Kassenzettel.
Andrea Giugliano
Artikel
Fällt es dir schwer, Scrum in deinem Unternehmen anzuwenden? Dauern deine Projekte zu lange oder liefern nicht die erhofften Ergebnisse?
Als Experte für agile Methoden und Organisationsentwicklung habe ich aus erster Hand erlebt, wie transformative Scrum sein kann – vorausgesetzt, es wird richtig umgesetzt. In meiner langjährigen Erfahrung habe ich zahlreiche Teams gesehen, die mit Scrum kämpfen – oft aufgrund von Missverständnissen und häufigen Fallstricken.
Andrea Giugliano
Artikel
Okay, sprechen wir über Kanban vs. Scrum, denn die Entscheidung, wie man die Arbeit organisiert, kann so überwältigend sein wie die Wahl eines Kaffees in einem schicken Café. Entscheide dich für ein strukturiertes, vorhersehbares System, wie das Befolgen eines detaillierten Rezepts für einen Karamell-Macchiato (Scrum), oder bevorzuge einen flexibleren Ansatz, wie etwa einen Barista, der einen Filterkaffee je nach Mahlgrad und Wassertemperatur anpasst (Kanban)?
Andrea Giugliano

Artikel
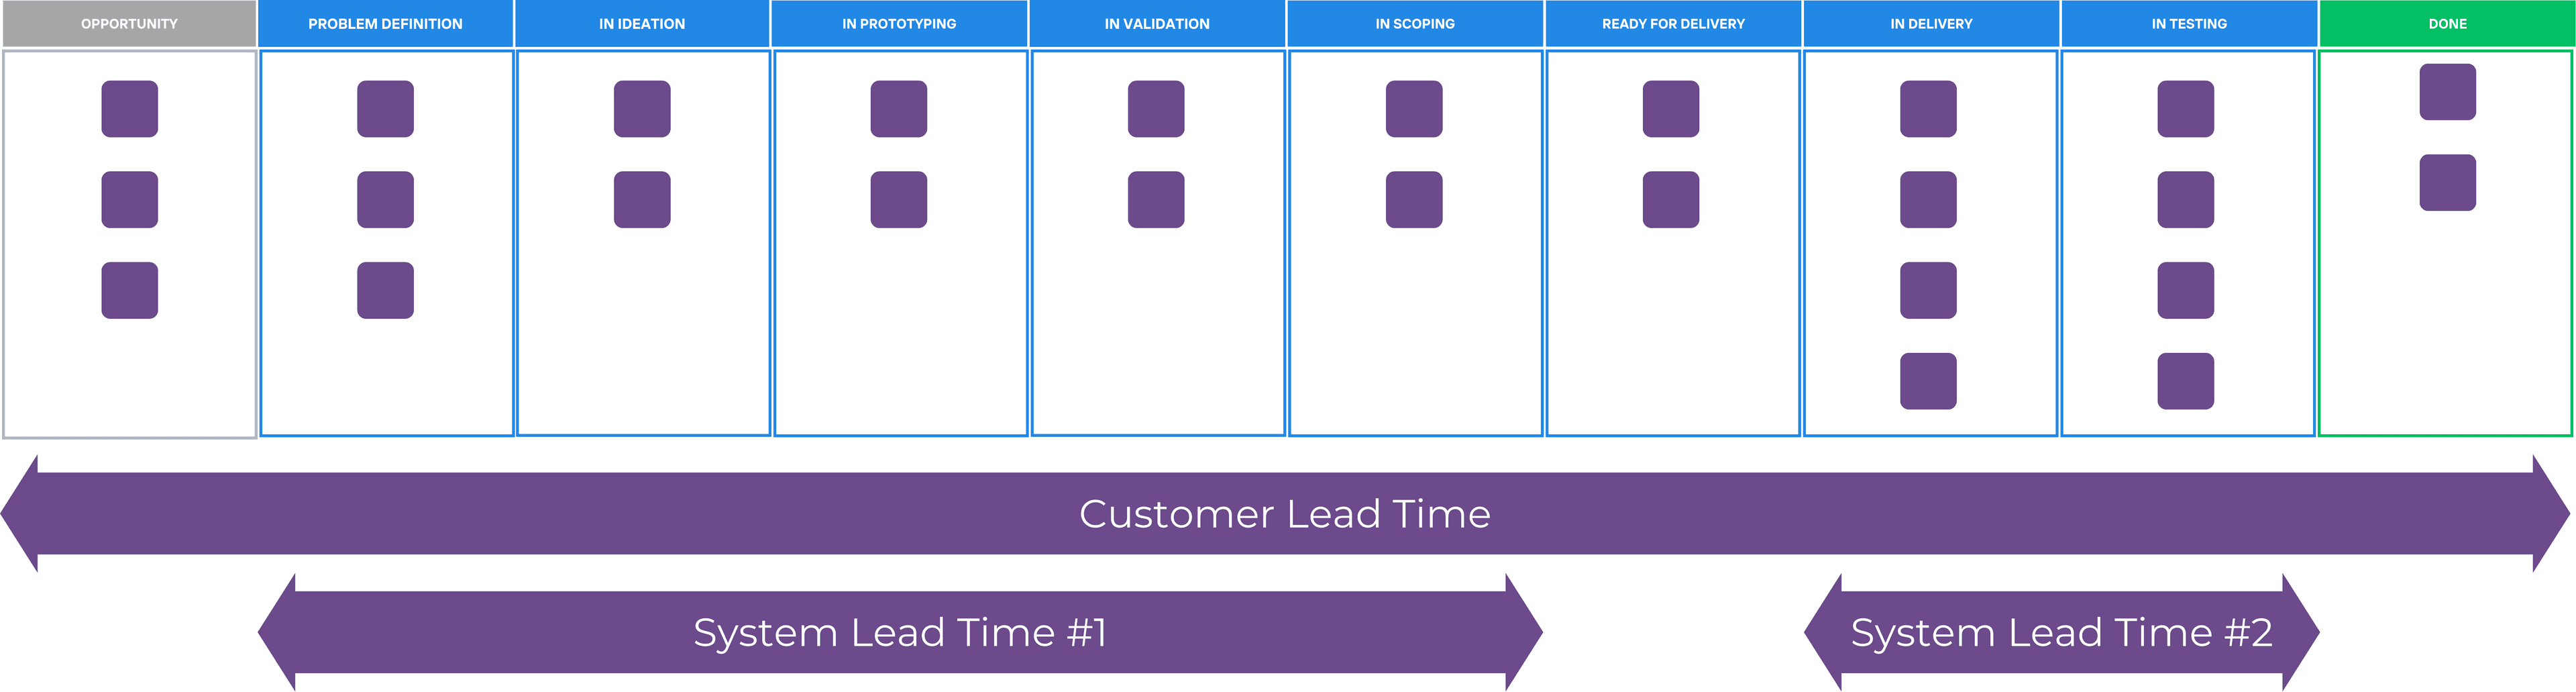
Kanban ist eine Möglichkeit, dafür zu sorgen, dass bei der Arbeit alles reibungslos läuft. Es ist wie eine große Tafel, auf der Sie alle zu erledigenden Aufgaben sehen können. So weiß jeder, worauf er sich konzentrieren muss, und es wird sichergestellt, dass nichts vergessen wird. Im Jahr 2025 ist die Verwendung von Kanban wichtiger denn je, da es Teams hilft, besser zusammenzuarbeiten, insbesondere angesichts der neuen Technologien und der zunehmenden Remote-Arbeit. Schauen wir uns die besten Möglichkeiten an, Kanban jetzt und in Zukunft zu nutzen.
Andrea Giugliano

Artikel
Die Umstellung auf Agile und die intelligente Gestaltung Ihrer Organisation kann wie eine große Sache erscheinen, muss es aber nicht sein. Betrachten Sie es als eine Möglichkeit, besser und nicht härter zu arbeiten. Bei Agile geht es darum, flexibel und offen für Veränderungen zu sein. Und wenn Ihre Organisation genau richtig aufgestellt ist, passt alles zusammen. Es ist, als ob alle Zahnräder einer Uhr perfekt zusammenarbeiten. Dieser Artikel führt Sie durch einige einfache Tipps und Tricks, um Ihre Agile-Reise zu beginnen und Ihrer Organisation zu helfen.
Andrea Giugliano

Artikel
Das Agile Manifest hat die Art und Weise, wie wir Software entwickeln, revolutioniert. Es entstand aus der Notwendigkeit, flexiblere und effizientere Methoden zu finden, um den Herausforderungen sich ständig ändernder Anforderungen gerecht zu werden. Im Jahr 2001 trafen sich 17 Softwareentwickler in einem Skigebiet in Utah, um ihre Erfahrungen und Ideen auszutauschen. Das Ergebnis war ein Manifest, das vier Grundwerte und zwölf Prinzipien festlegte, die bis heute die Grundlage für agile Methoden bilden.
Diese Prinzipien fördern eine Kultur der Zusammenarbeit, Anpassungsfähigkeit und kontinuierlichen Verbesserung. Obwohl das Agile Manifest ursprünglich für die Softwareentwicklung entwickelt wurde, wird es inzwischen auch in anderen Branchen angewendet.
Andrea Giugliano

Artikel
Product Discovery Interviews sind ein zentraler Bestandteil, wenn es um die Entwicklung erfolgreicher Produkte geht. Sie helfen dabei, die tatsächlichen Bedürfnisse der Nutzer besser zu verstehen und fundierte Entscheidungen zu treffen. Doch wie führst du solche Interviews, ohne in gängige Fallen zu tappen? In diesem Artikel zeige ich dir, wie du dich optimal vorbereitest, welche Fragen du stellen solltest und wie du die gewonnenen Erkenntnisse effektiv nutzen kannst.
Corinna Böcklinger-Giugliano

Artikel
Kanban ist heute mehr als nur ein Trend. Es ist eine bewährte Methode, um Arbeitsabläufe zu visualisieren, Engpässe zu identifizieren und die Effizienz zu steigern. Aber wie beherrscht man es wirklich? Eine zertifizierte Kanban-Schulung kann der Schlüssel sein, diese Fähigkeiten zu beherrschen und sich von der Masse abzuheben.
Andrea Giugliano
Artikel
Manchmal hat man das Gefühl, dass Produktteams in zwei Welten leben. Auf der einen Seite steht die Discovery - das Verständnis dessen, was Kund:innen wirklich brauchen. Auf der anderen Seite steht die Delivery - die tatsächliche Implementierung und Bereitstellung dieser Lösungen. Beide sind wichtig, aber sie haben unterschiedliche Ziele und Ansätze. In diesem Artikel werden wir uns die Unterschiede zwischen „Product Discovery“ und „Product Delivery“ genauer ansehen.
Corinna Böcklinger-Giugliano

Artikel
Traditionelle Führungsstile stoßen zunehmend an ihre Grenzen. Agile Führungsmethoden bieten eine Antwort auf die Herausforderungen der modernen Arbeitswelt. Doch was bedeutet das eigentlich? Und wie können Führungskräfte diesen Ansatz erfolgreich umsetzen? Dieser Artikel beleuchtet die Grundlagen, Vorteile und Fallstricke agiler Führung und erklärt, warum sie heute so wichtig ist.
Andrea Giugliano
Artikel
Projektmanagement ist ein Thema, das viele von uns beschäftigt, sei es im Berufs- oder Privatleben. Es gibt zwei Hauptansätze: traditionell und agil. Aber welcher ist besser? Und warum sollte man sich überhaupt damit beschäftigen? Genau das werden wir uns heute ansehen.
Andrea Giugliano
Artikel
Stoßt du bei der Produktentwicklung auf Hindernisse? Möchtest du Produkte entwickeln, die bei deinen Kunden Anklang finden und ihre Erwartungen übertreffen?
Durch meine enge Zusammenarbeit mit zahlreichen Product Ownern habe ich aus erster Hand die Herausforderungen erlebt, denen sie sich stellen müssen, und die Erfolge, die sie in der sich ständig weiterentwickelnden Welt der Produktentwicklung feiern. Dieser Blogbeitrag stützt sich auf diese Erfahrung, um ein umfassendes Verständnis der Rolle des Product Owners in Scrum zu vermitteln und praktische Anleitungen für eine effektive Produktentwicklung zu bieten.
Corinna Böcklinger-Giugliano
Guide
Das Schreiben guter User Stories ist für eine effektive agile Entwicklung unerlässlich. Eine gut ausgearbeitete User Story hilft Teams zu verstehen, was erstellt werden muss, warum es wichtig ist und wie sichergestellt werden kann, dass es die Benutzeranforderungen erfüllt. Dieser Leitfaden führt Sie durch das Schreiben klarer, umsetzbarer User Stories, die eine erfolgreiche Produktentwicklung vorantreiben.
Andrea Giugliano
Guide
Product Discovery ist wie der Kompass für Ihre Produktreise. Es geht darum, herauszufinden, was Ihr Publikum wirklich braucht und wie Sie es auf eine Weise bereitstellen können, die funktioniert. Egal, ob Sie etwas ganz Neues bauen oder ein bestehendes Produkt optimieren, wenn Sie diesen Schritt richtig machen, können Sie auf lange Sicht Zeit, Geld und Kopfschmerzen sparen. In diesem Leitfaden erfahren Sie alles, vom Verständnis der Grundlagen über die Bewältigung von Herausforderungen bis hin zum Erreichen der Nase vorn mit neuen Strategien.
Andrea Giugliano

Artikel
Da Unternehmen mit ständigen Veränderungen in Technologie, Marktanforderungen und gesellschaftlichen Erwartungen konfrontiert sind, müssen Führungskräfte lernen, diese Herausforderungen flexibel zu meistern. Dieser Artikel untersucht die Kernprinzipien der adaptiven Führung, ihre Bedeutung in modernen Kontexten und Strategien für Führungskräfte zur Verbesserung ihrer Anpassungsfähigkeit.
Andrea Giugliano

Artikel
Das Verständnis von Ergebnissen ist für jeden wichtig, der Erfolg anstrebt, sei es kurzfristig, mittelfristig oder langfristig. In der Wirtschaft, in der Ausbildung oder bei der persönlichen Entwicklung dienen Ergebnisse als Schlüsselmaßstab für unsere Bemühungen. Sie spiegeln unseren Fortschritt wider und leiten unsere zukünftigen Entscheidungen und Strategien. In diesem Blogbeitrag werden wir die Bedeutung von Ergebnissen untersuchen, lernen, wie man sie definiert und bewertet, und ihre Rolle in verschiedenen Bereichen erkennen!
Andrea Giugliano

Artikel
Product Discovery ist nicht nur ein Schritt im Entwicklungsprozess; sie ist das Herzstück bei der Schaffung von etwas, das die Menschen wirklich wollen. Es geht darum, herauszufinden, was die Menschen brauchen, und sicherzustellen, dass deine Ideen ins Schwarze trifft. Wenn es richtig gemacht wird, kann es den Unterschied zwischen einem Produkt ausmachen, das floppt, und einem, das Erfolg bringt. Dieser Artikel befasst sich mit den Ergebnissen, die bei Product Discovery wirklich wichtig sind.
Corinna Böcklinger-Giugliano

Artikel
Outcome Based Management ist eine Strategie, die Ergebnisse über Aktivitäten stellt. Sie konzentriert sich auf das Erreichen wertvoller Ergebnisse für die Stakeholder, was zu besserer Leistung und Verantwortlichkeit führt. Dieser Ansatz hilft Organisationen, ihre Ziele mit messbaren Ergebnissen in Einklang zu bringen und eine Kultur der Verantwortung und Effektivität zu fördern.
Andrea Giugliano
Haben Sie Fragen?
Möchten Sie mehr erfahren oder haben Sie spezifische Herausforderungen? Vereinbaren Sie ein kostenloses Erstgespräch.
Gespräch buchen